3
Existen dos tipos de vulnerabilidades Non-Persistent XSS: Reflected XSS, que es procesado por el servidor back-end, y DOM-based XSS, que es completamente procesado en el cliente y nunca llega al servidor back-end. A diferencia del Persistent XSS, las vulnerabilidades Non-Persistent XSS son temporales y no persisten a través de las actualizaciones de la página. Por lo tanto, nuestros ataques solo afectan al usuario objetivo y no afectan a otros usuarios que visiten la página.
Las vulnerabilidades Reflected XSS ocurren cuando nuestra entrada llega al servidor back-end y se nos devuelve sin ser filtrada o saneada. Hay muchos casos en los que nuestra entrada completa podría devolverse, como mensajes de error o mensajes de confirmación. En estos casos, podemos intentar usar payloads de XSS para ver si se ejecutan. Sin embargo, como estos suelen ser mensajes temporales, una vez que nos movemos de la página, no se ejecutarían de nuevo, por lo que son Non-Persistent.
Podemos iniciar el servidor a continuación para practicar en una página web vulnerable a una vulnerabilidad Reflected XSS. Es una app similar a To-Do List con la que practicamos en la sección anterior. Podemos intentar agregar cualquier string test para ver cómo se maneja:
http://SERVER_IP:PORT/

Como podemos ver, obtenemos Task 'test' could not be added., que incluye nuestra entrada test como parte del mensaje de error. Si nuestra entrada no fue filtrada o saneada, la página podría ser vulnerable a XSS. Podemos intentar el mismo payload XSS que usamos en la sección anterior y hacer clic en Add:
http://SERVER_IP:PORT/

Una vez que hacemos clic en Add, obtenemos el pop-up de alerta:
http://SERVER_IP:PORT/
En este caso, vemos que el mensaje de error ahora dice Task '' could not be added.. Dado que nuestro payload está envuelto con una etiqueta <script>, no es renderizado por el navegador, por lo que obtenemos comillas simples vacías ''. Podemos ver nuevamente el código fuente de la página para confirmar que el mensaje de error incluye nuestro payload XSS:
<div></div><ul class="list-unstyled" id="todo"><div style="padding-left:25px">Task '<script>alert(window.origin)</script>' could not be added.</div></ul>
Como podemos ver, las comillas simples contienen nuestro payload XSS '<script>alert(window.origin)</script>'.
Si visitamos nuevamente la página Reflected, el mensaje de error ya no aparece y nuestro payload XSS no se ejecuta, lo que significa que esta vulnerabilidad XSS es realmente Non-Persistent.
Pero si la vulnerabilidad XSS es Non-Persistent, ¿cómo podríamos apuntar a las víctimas con ella?
Esto depende de qué solicitud HTTP se utiliza para enviar nuestra entrada al servidor. Podemos verificar esto a través de las Developer Tools de Firefox haciendo clic en [CTRL+I] y seleccionando la pestaña Network. Luego, podemos poner nuestro payload test nuevamente y hacer clic en Add para enviarlo:
http://SERVER_IP:PORT/
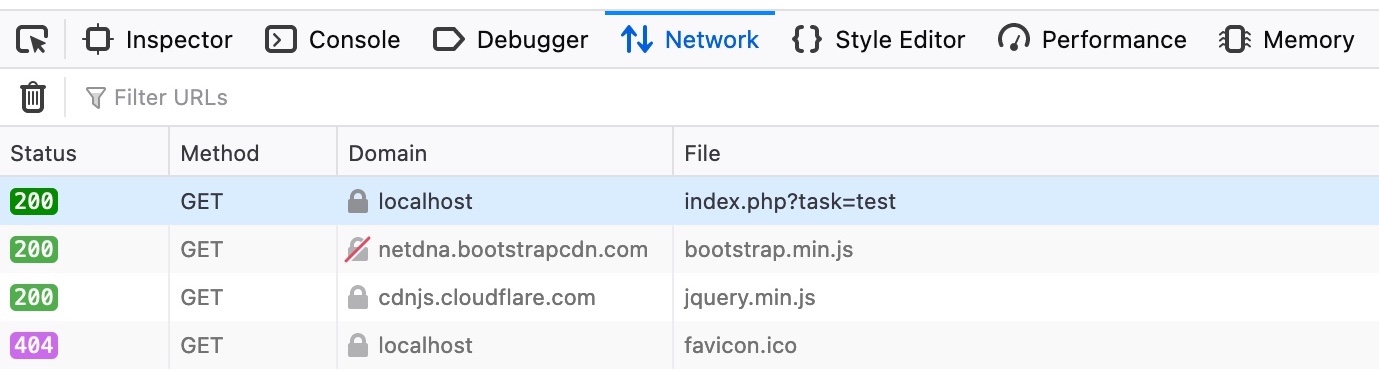
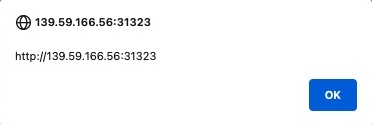
Como podemos ver, la primera fila muestra que nuestra solicitud fue una solicitud GET. Las solicitudes GET envían sus parámetros y datos como parte de la URL. Entonces, para apuntar a un usuario, podemos enviarles una URL que contenga nuestro payload. Para obtener la URL, podemos copiar la URL de la barra de URL en Firefox después de enviar nuestro payload XSS, o podemos hacer clic derecho en la solicitud GET en la pestaña Network y seleccionar Copy>Copy URL. Una vez que la víctima visite esta URL, el payload XSS se ejecutará:
http://SERVER_IP:PORT/index.php?task=<script>alert(window.origin)</script>